I personally like watermelon more, but anyway!
This is from the humungously talented Studs & Pearls
diy manicure: Summer Strawberries (or Watermelon!)
It's been a while since I last did a nail DIY, so here's a new one!
Depending on how you look at it, this design can be either strawberry or
watermelon themed...I personally think of strawberries when I look at
this, but you can easily change it up by replacing the pink with a red!
It includes the same method I used in the Easy French Manicure DIY,
followed by an extra step. Keep reading to see how I made this fun
summer mani !
Supplies:
- Binder reinforcement stickers
- Scissors
- Pink (or red) nail polish
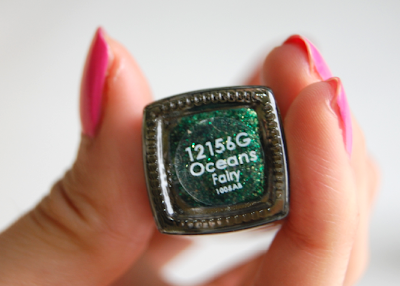
- Green nail polish of your choice
- Black nail art nail polish (includes a super skinny brush for detailed work
- Base/top coat
- Base/top coat
What I Used:
Spoiled by Wet N' Wild in Cotton Mouth
LA Splash Nail Polish in Oceans Fairy
Sinful Colors Nail Art in Time Off
Sally Hansen Double Duty Strengthening Base & Top Coat
1) After applying your base coat, paint your nails pink (or red). Let dry completely.
2) Cut the reinforcement stickers in half.
3) Place on the tips of your nails, like above.
I decided to use a fun glittery green, but you can use any shade/type
you'd like! Neon green, dark green or even mint green would all work
just as well, each creating a different look.
3) Paint the tips of your nails green. Let dry.
4) With the black nail art nail polish, randomly paint black dots in the
pink area of your nail. Again, make sure your nail polish bottle comes
with a thin brush (the bottles are usually made skinnier) before
starting.

Let dry, apply your top coat and you have a fun summer mani!

Let dry, apply your top coat and you have a fun summer mani!
Just don't bite your nails, even though they do look delicious!


No comments:
Post a Comment