
got this from Studs and Pearls:)

Winter might almost be over for us southern-hemispheric people , but that doesn't mean we can't take-and-make and organize up a storm! So here I bring you a angel from above, in my case anyway, to organize your scarves and all the etc-ras


Supplies:
- Shower curtain rings...quantity is up to you!
I used 24 rings, or 2 packs of 12. Each package was $1 from the Dollar Store.
- Fabric scraps. I used denim and black faux leather.
- Thick string or cord of your choice. I chose black hemp.
- Hanger and ribbon of your choice
(Wrap the ribbon around your hanger, hot gluing every so often. I wrapped up this hanger a few years ago!)
- Hot glue gun, glue gun sticks and scissors (not shown)

1) Cut the fabric into roughly half inch thick strips, as long as you can make them. Don't worry too much about making them perfectly straight.

2) Tightly wrap strips of fabric around the curtain rings, applying hot glue every so often.

3) If a strip of fabric is too short, simply glue the end down and continue wrapping with another strip.

4) Keep going until you're all done!
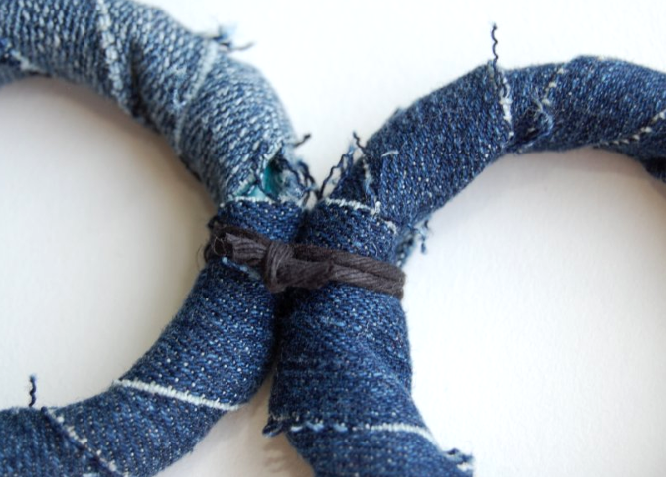
5) After figuring out how you'd like to position your rings (I decided to do 4 rows, 6 columns, with the columns alternating denim and leather) tightly tie the rings together using the cord of your choice. I'd recommend wrapping the cord around two or three times for extra security.


I tied them in groups of 4, horizontally speaking, by type of fabric.

6) Tie the rows together so that everything is connected.

7) Attach the rings to the hanger, again wrapping two to three times. If you'd like, apply a dot of clear nail polish to each of the knots to further secure them.

Hang your scarves through the rings! Easy, inexpensive and extremely useful.
No comments:
Post a Comment