As you can see, I've been reading CraftGawker!
Recycled Crayon Tutorial
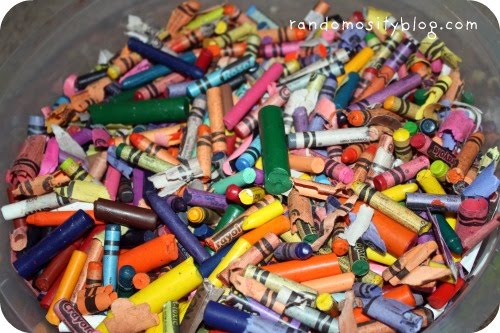
Gather your supplies.
Peel your crayons (this is the horrible part!). Separate crayons by color.
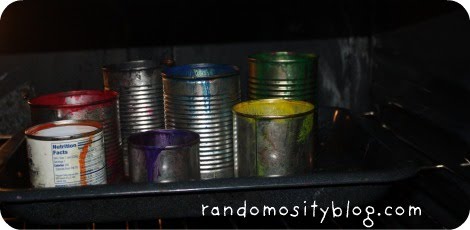
Put each color in its own can. If you mix them in this step, you’ll get an ugly brown color.
Preheat oven to 300*F.
Put cans of crayons on a cookie sheet, just in case they spill. Trust me, melted crayon stuck to the oven does not smell good.
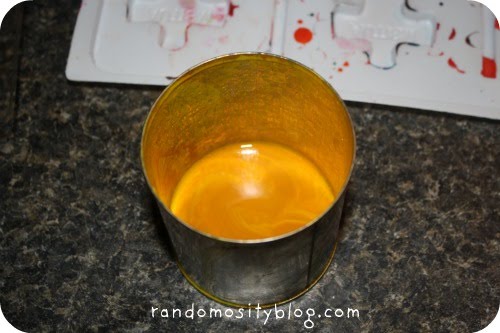
Bake for 10 minutes, longer if necessary. The crayons will be liquid when they’re ready to use.
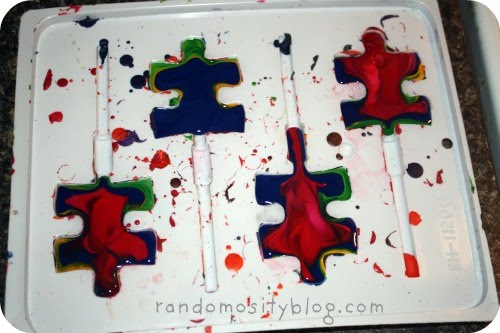
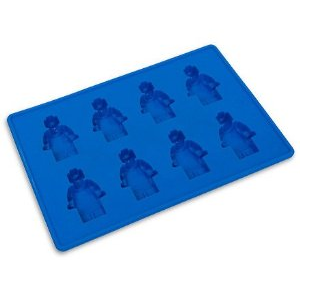
Quickly and carefully pour your crayons into the molds you have set out. Spray them with cooking spray ahead of time if you find they are sticking. You can use silicone molds, or plastic candy/chocolate molds for this step.
After about 15 minutes, set the crayons in the freezer* to harden if you’re in a hurry. Flip the mold over and the crayons should pop right out.
*Note: This can make your crayons brittle, so if you have the time and patience to let them sit out on the counter and cool, do it that way.
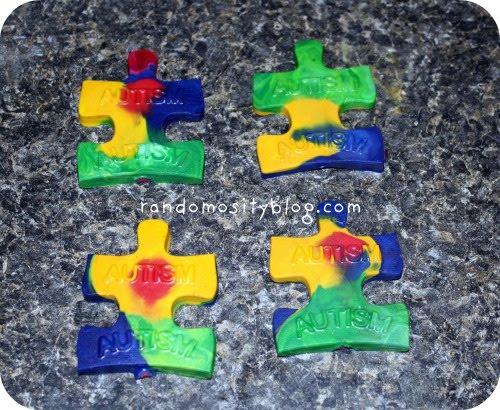
The best part about this project is finding different molds to use. You can make crayons in every shape you can imagine – from brains to princesses, they've used lots of recycled crayons!
To get the supplies, visit Amazon for the best deals!

Loned from SlapDash Mom


No comments:
Post a Comment